With holiday hosting in full swing, it’s the perfect time to consider making your own folding table for extra seating. Why settle for a plastic folding table when you could have a beautiful wooden folding table for your guests? I’m sharing all the details on how I made my own wooden folding table thanks to these self-locking folding brackets!
Building the Tabletop
For the tabletop, I decided to try a new-to-me wood species called sassafras. Yes, that is a real type of wood believe it or not! It has a very similar look to white oak, but it’s much lighter in weight. The overall weight is a big factor to consider for these tables so that they can be moved and storage away with ease. But you can really use any type of wood that you have access to.
The wood planks are 1” thick and vary in width, ranging from 5 ½” to 6 ½”. I’m keeping the tabletop very basic and going for a plank look. My overall table size will be about 34” wide by 8’ long and 30” high, but you can really make this any size to suit your needs.
We’re going to start by making a very basic tabletop glue-up. Lay out the wood planks on floor and butt up the edges. Add some wood glue on the long edges of the boards and clamp them all tightly together. Add three 2×4 braces to the bottom the table. Be sure to give yourself room to attach the legs and leave enough room so that the legs have room to fold down. You can just screw the 2x4s right to the bottom of the table.


Now that our tabletop glue-up is done we can trim it down for a nice clean edge. I also gave the tabletop a quick sanding. I personally prefer an unfinished table that will have an aged look over time with use, but you can also stain and finish the tabletop to your liking.

This is not necessary, but I did end up adding an apron to the tabletop to hide the braces. I used some scrap 1×4 boards and just used glue and pocket holes to attach the apron pieces to the tabletop.

Making the folding legs
The legs are made out of 4×4 boards and attached to a 2×4 board. Cut all four 4×4 legs to the same length. My legs are 27 ½” in length (27 ½” 4×4 board + 1 ½” 2×4 board + 1” tabletop thickness = 30” overall table height). Cut two 2x4s to a length that fits nicely inside the tabletop apron. Face screw the 2×4 to two 4x4s and repeat for the other side.

The key component to the table is these self-locking folding brackets! Once the bracket pops open, they lock themselves in place. You can only release the folding bracket by pulling the release lever.

Put the legs in place and simply attach two self-locking folding brackets to each leg structure…. And fold away! It would be a good idea to add some sort of latch to keep the legs folded down while moving the table (this is still on my list to do myself!).


All ready for extra guests!
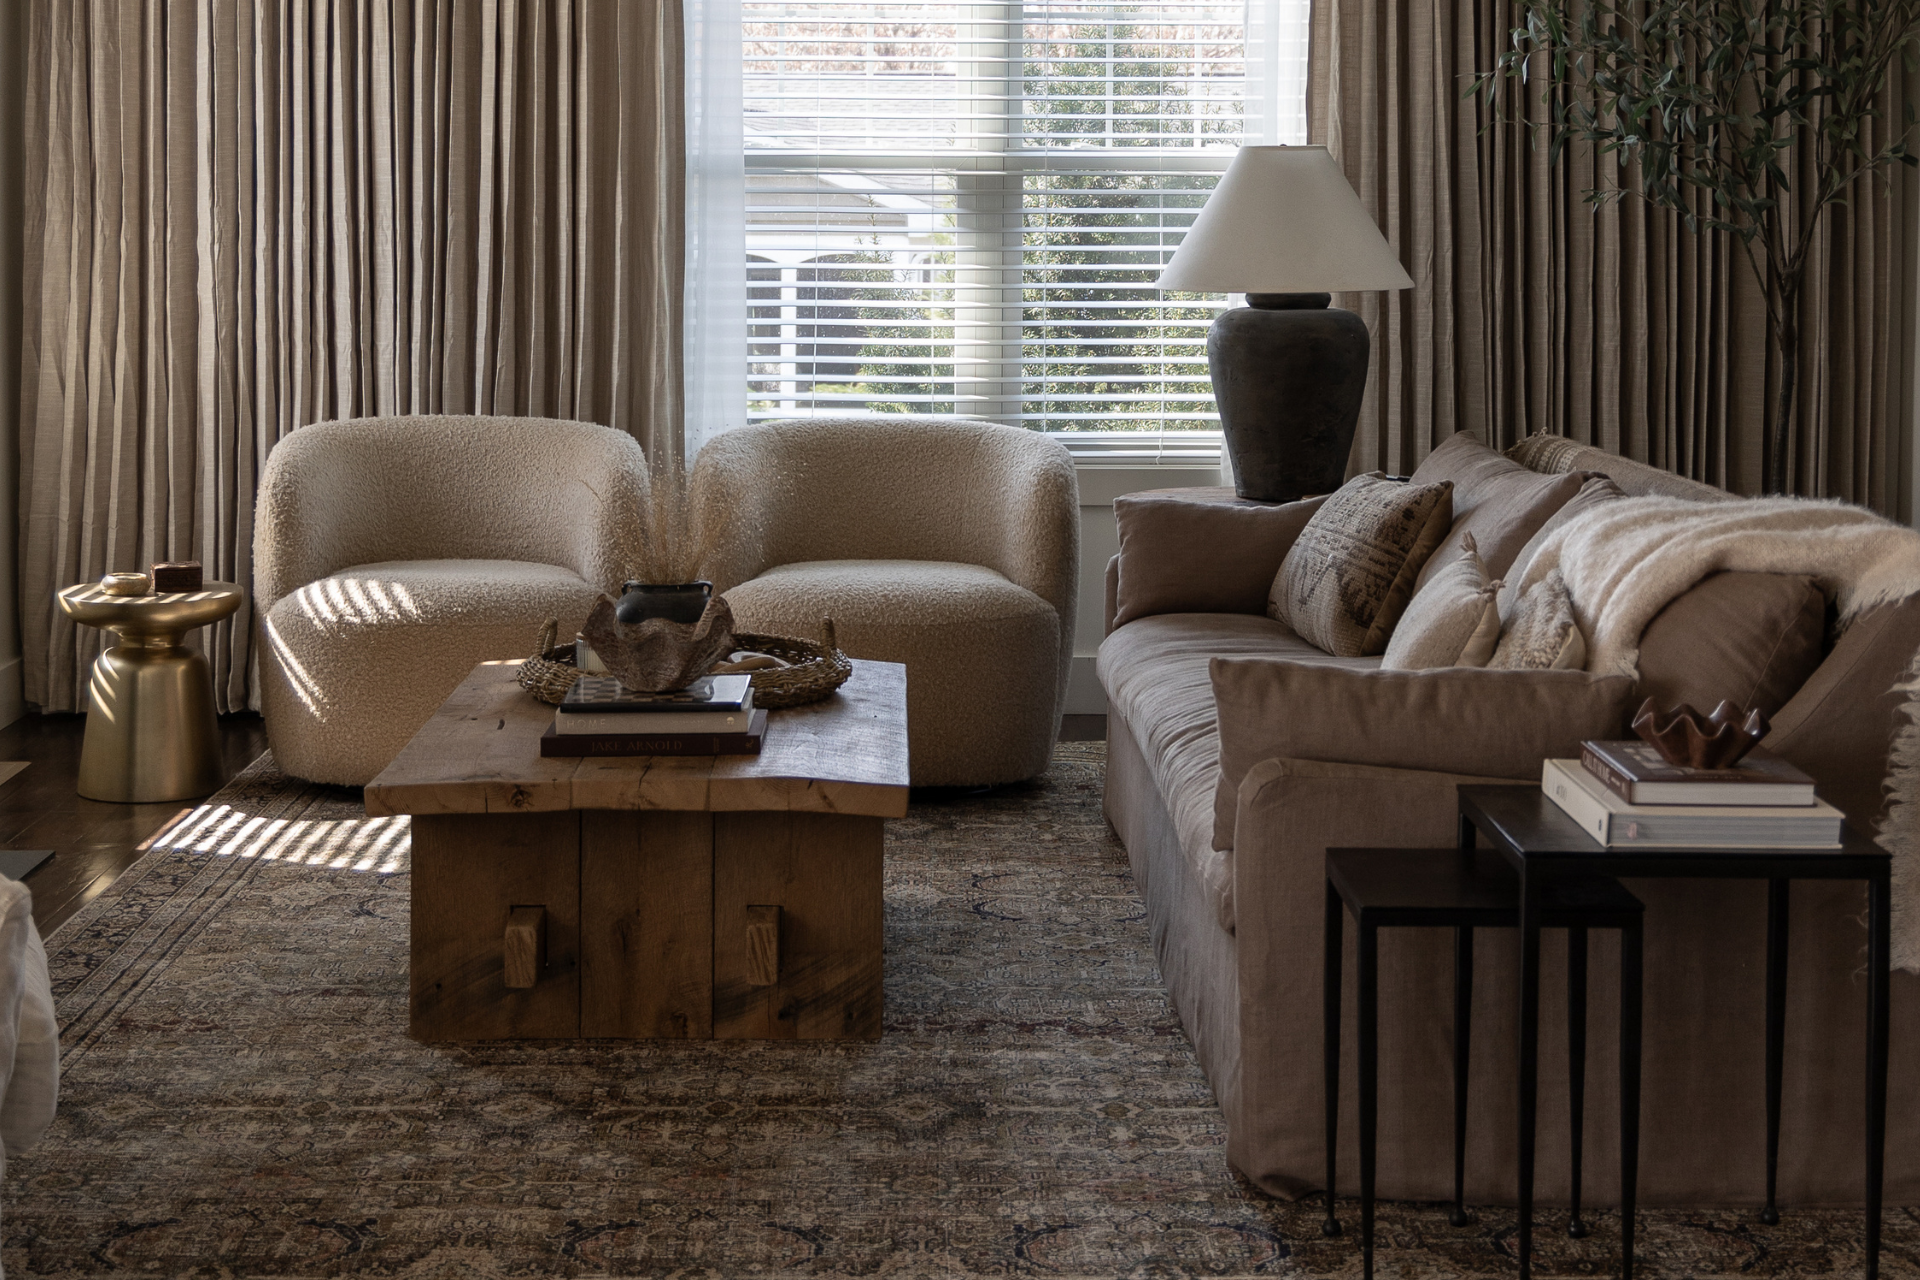
And here is how it turned out and we’re all ready to host extra guests this holiday season!


Room Sources:
Rug | Self-locking folding brackets
*This post contains affiliate links*


