


The “little lamp that could” is done and I thought it deserves a spot on the blog! If you’ve been following the journey of this lamp you know it’s been a wild ride. Seriously, so much drama from one little lamp! It got a bit worse before it got better, but without further ado, here’s how it got from the before to the after.


HOW IT STARTED
It all started with a thrifted lamp from Good Will that I got for $2.97. It was huge and had a really great shape to it already. My plan was to get rid of the square base and mold/shape the bottom of it to make it wider.
Once I tried chiseling off the square bottom, a little more broke off than I wanted. It all went downhill quickly after that, haha. After adding some glue and some spray foam, I was able to salvage the lamp, but it wasn’t pretty.


SHAPING THE LAMP
The spray foam actually worked well to fill in the bottom of the lamp and give it a little more shape. First things first, I shaved off some of the lumpy parts of the spray foam with a handsaw to create a nice, smooth surface.


Now that I had a more even surface to work on, I used plaster of paris to shape my lamp. Plaster of paris dries really fast, so you need to work quickly. I would get a coat on, all the way around the lamp, let it dry overnight, and then repeat the process the next day. I kept adding layers until my lamp reached the desired shape.
For the very last coat, I covered the entire lamp in joint compound. Joint compound is much softer than plaster of paris and will be much easier to sand. I did a rough sanding of the final joint compound layer.


PAINTING THE LAMP
To get a clay pot look, I am using a baking powder/paint combo on the lamp. Mixing baking powder with paint creates a beautiful textured paint that is reminiscent of clay pottery. The mixture I am using consists of 1 Tablespoon of baking powder and one cup of Sherwin Williams Tricorn Black paint. I also added a little salt to give it a gritty texture. When it’s time to paint, just dab the mixture on instead of brushing it on.


AGING THE LAMP
Once the paint is dry, it’s time to age it. I took some dirt and rubbed it all over the lamp. Once the dirt dried completely, I used damp paper towels to wipe off all the excess. It was looking a little blotchy afterward, so I tried another method for the final coat. This time I sprayed it with flat black spray paint and while the spray paint was wet, I rubbed dry mud on it. Once again, when the mud looked dry, I rubbed off the excess with a damp cloth. It created such a better effect— a much softer, cloud-like look and less blotchy.


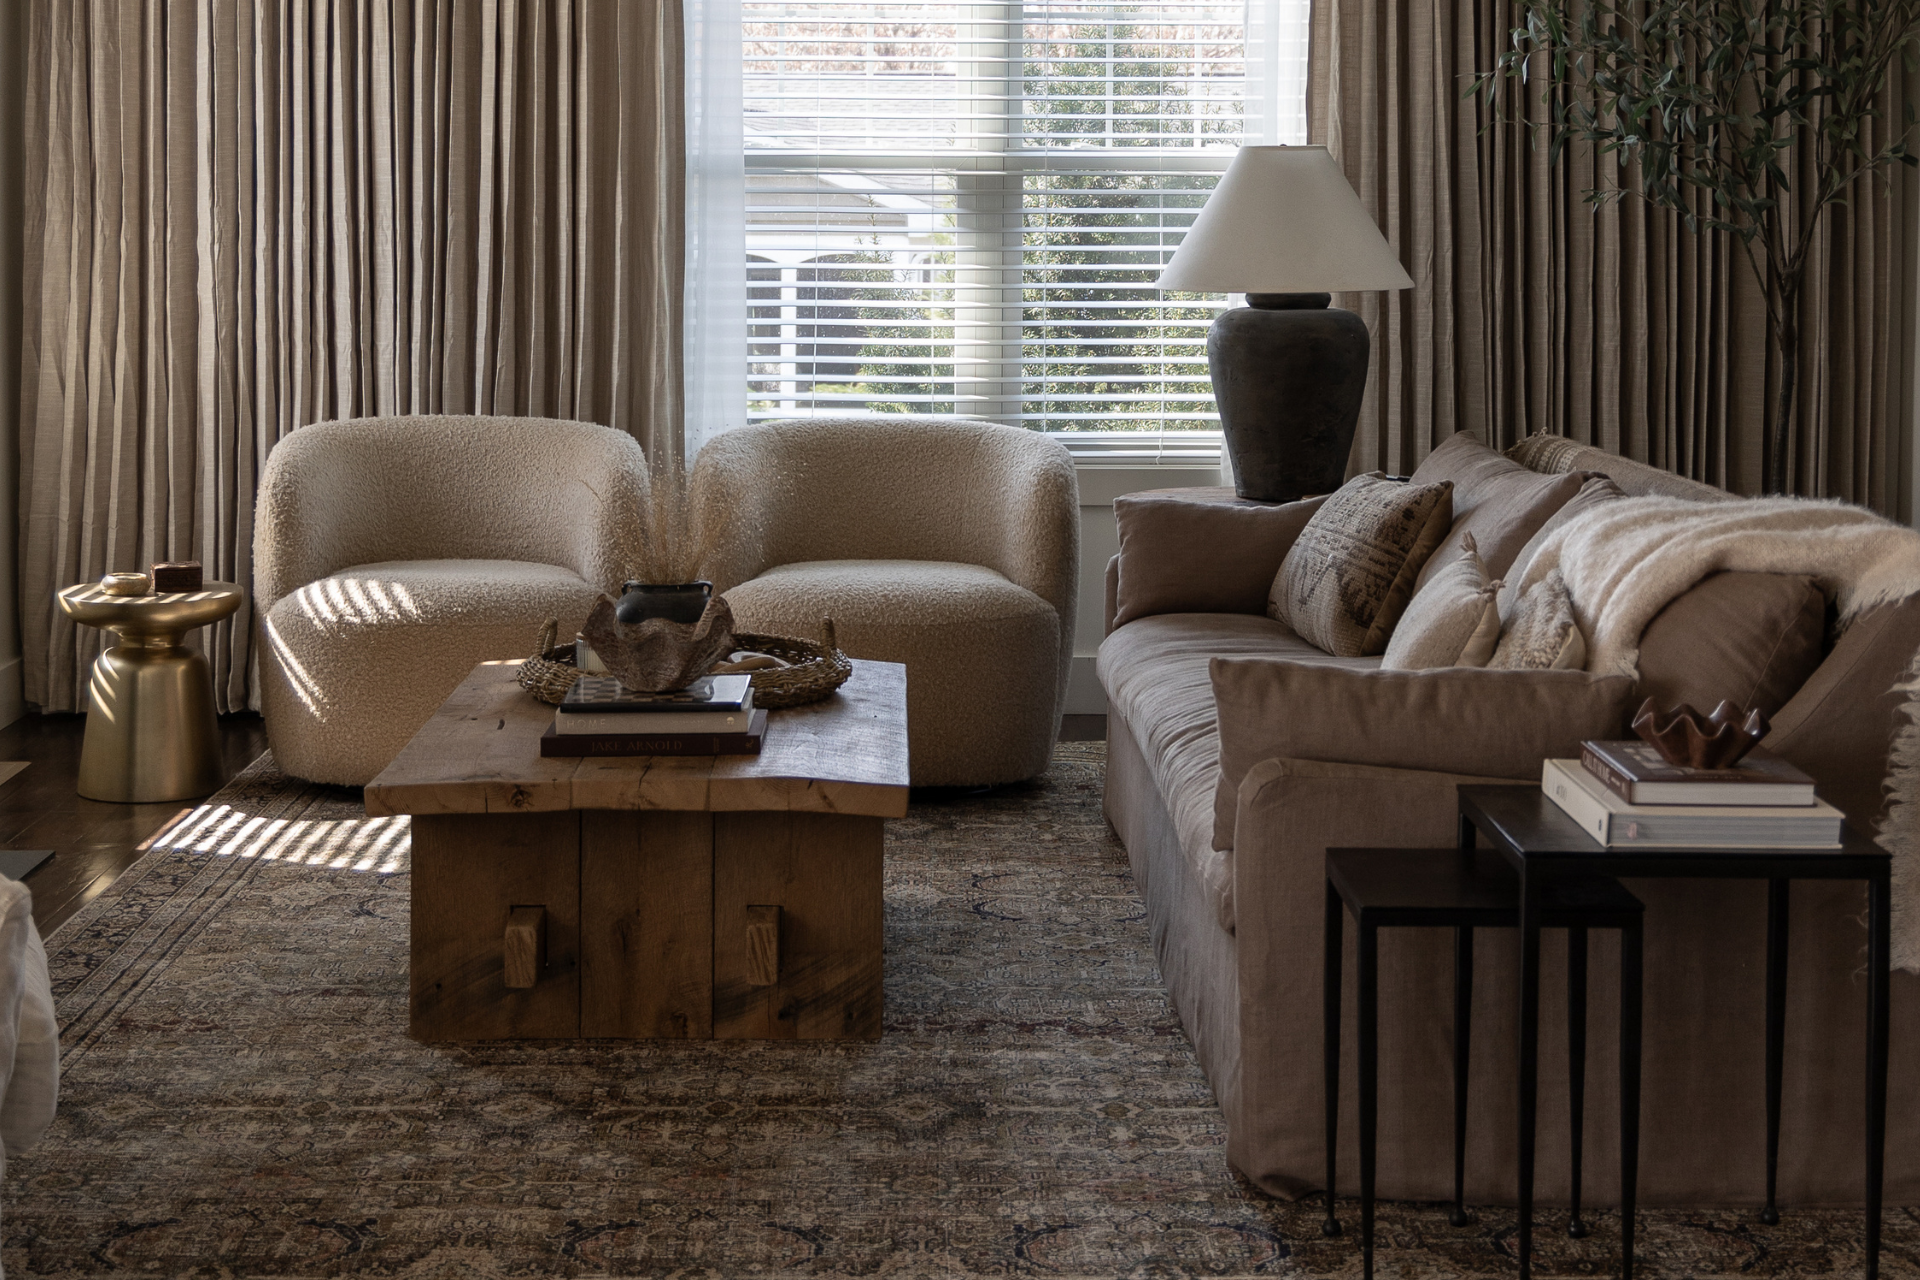
THE FINAL REVEAL
Well, the journey for this little lamp is officially done. It’s been through quite the transformation! What do you think? Will you give it a try?


SOURCES
Coffee Table Basket | Rug | Urn | Olive Tree | Coasters | Vintage Clay Pot | Dried Florals | Pillow 1 | Pillow 2 | Pillow 3 | Curtains | Curtain Rod
*This post contains affiliate links*


8 Responses
Where did you get the lamp shade at?
I got it from Fenchel Shades. They have just about any size shade you could possibly need! Super great to work with and very friendly customer service.
https://www.fenchelshades.com/
This might seem like an odd question but what kind of dirt did you use?
Not an odd question at all! I used dirt from our yard, not soil like you would use in a planter pot, if that makes sense? Hard, clumpy dirt haha!
Thats very helpful–thank you!!
I have watched probably 100 videos on making over my lamps and a vase that I want to do. Hands, down yours looks the best! as in I could not tell yours was a dupe! Thank you for the post! I’m finding it pretty late in the game, but it is still so helpful????????.
Aw I’m so happy to hear that! Thank you!