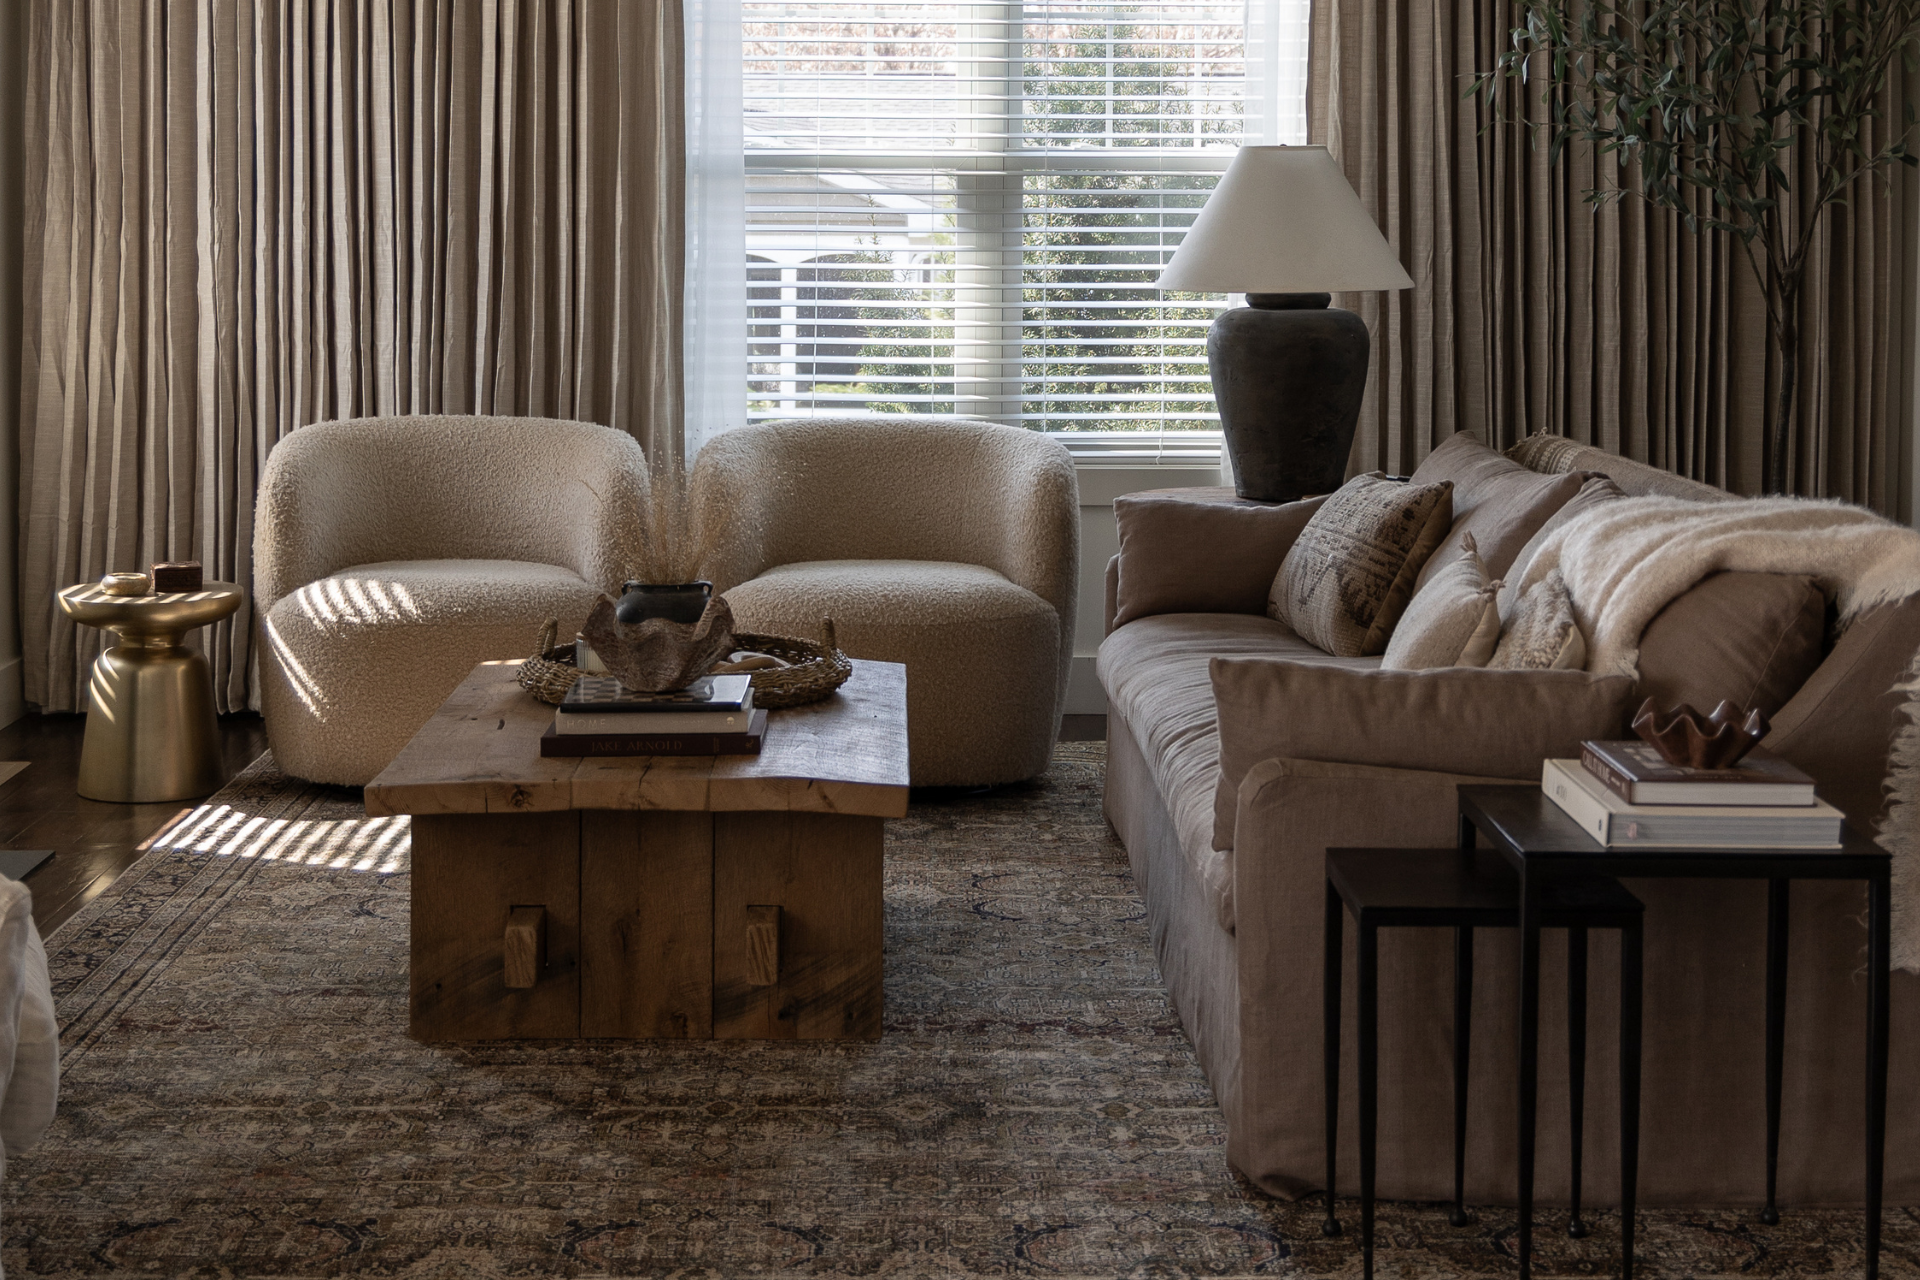
This headboard is a project I’ve wanted to tackle for some time now. The fall One Room Challenge finally provided the push for me to get it done. I’ve upholstered a headboard before, but nothing quite like a channel tufted headboard. It’s one of those projects that may seem overwhelming and complicated, but I promise you, it is not that daunting. The key to success is to set up a good workspace and give yourself some time.
One thing to keep in mind is this headboard is completely customizable to meet your needs. I’m going to share my version which is a standard king size headboard, but you can:
- Make this headboard whatever size fits your needs
- Make your channels wider or narrower
- Use whatever fabric you choose
BUILD YOUR HEADBOARD STRUCTURE
You will need to build a basic headboard structure. It is easiest and most cost-effective to construct this part out of plywood. The overall size of my headboard will be 82” wide by 41” high. I’ll end up adding some legs to make it taller, but 82” x 41” is the size of the main upholstered area. I used a 4’x8’ sheet of 3/4” plywood (the technical term is 23/32 cat rated sheathing) and had it cut down at Lowes. Here is a diagram of how I had them cut down my sheet of plywood.

First, find yourself a good work surface to set up your 82”x 41” piece of plywood. Then it’s time to add some thickness to the sides of your headboard. Take one of your 3 ½” plywood strips, cut it down to 82” and clamp it to the underside of the headboard (long side). Secure it in place with some screws through the face of your board. This will be the top of your headboard.

Next, we need to do the same thing for the right and left side of the headboard, except this time cut the 3 ½” plywood strip down to 54 ¼” (You can also piece together two strips if you don’t have enough to make 54 ¼”). Clamp and attach them the same way, but this time the plywood strip will hang over the edge of your headboard to create the legs. This will give us an overall height of 55”.

To finish the legs, I mounted a 2×4 board on the underside for some added support. I just attached it with some screws through the top and side. Lastly, attach a scrap piece of plywood to the front of the 2×4 board to create a flat and even work surface.


PREPPING THE HEADBOARD
We need to go through and divide the headboard up into 10” sections. To do this, start by finding the center of your headboard and draw a line from top to bottom. Measure out 10” in each direction until you reach the sides (your far right and far left sections will end up being a little larger than 10”). You’ll end up with 8 total 10” sections. Next, take some upholstery tack strip and staple it onto each of your lines.


PREPPING THE MATERIALS
Before we can begin upholstering, we need to cut strips of foam, batting, and fabric. Here is the total cut list, but I’ll break it down for you as well.

First up, I am using 1” project foam for the channels. To prep the foam, I cut it down to 54” in length and then cut out 10” wide strips. You will need 8 total 10” strips of foam. If you don’t have a hot knife foam cutter, a bread knife works beautifully for cutting foam.


Next, we will do the same for the batting, except I am making the strips of batting a little bit wider to wrap around the foam. Each of my batting strips are 54” in length. You will need 6 total strips at 14” wide (for your center panels) and 2 strips at 24” wide (for the two end panels).


Lastly, we need to cut the fabric strips. The fabric I purchased is West Elm’s Astor Velvet in the color Stone and you will need about 4 yards for a king-size headboard. The bolt of fabric is already 54”, so we just need to cut the strips. We will cut the fabric exactly like the batting, 6 total strips at 14” wide (for your center panels) and 2 strips at 24” wide (for the two end panels).


UPHOLSTERING THE HEADBOARD
It’s go time! After lots of prep work, it’s finally time to see it all come together. We are going to work across the headboard from left to right. Start by spraying the first panel area with some adhesive and lay one of your foam strips on top. Next, layer the batting and then the fabric face side up (use the larger 24” wide strips).
You’ll want to feel for the tact strip under the batting and fabric layers. Staple through the batting and fabric layers right into that tact strip. Just keep feeling for the tact strip as you move along and add staples every 2-3 inches.
To finish this panel, we need to wrap our batting and fabric layer all the way around the left side of the headboard and staple it on the back side/underneath. Be sure to pull tightly as you work and leave the top and bottom of your channel unfinished for now.


Congratulations— One channel down, 7 more to go! For the next channel, lay one of your 14” wide fabric strips, upside down, on top of the channel you just created. Line up the right side of the fabric strip with the fabric below it. Then take a piece of the upholstery tact strip, line it up with the tact strip below it, and staple it right on top of the fabric. Next, spray some adhesive on the channel and add one of your cut foam pieces. Add one of the 14” wide strips of batting and tuck it in the best you can on the left side (the right side can just be loose). Flip the fabric over the foam/batting and staple the right side of the batting and fabric to the tact strip, just like we did when we started.
Can you see the pattern here? Simply repeat for each channel as you move from left to right down the headboard.


Time to address the tops and bottoms of the channels. To finish them off, we need to basically tuck and roll them. Use both of your hands to fold the fabric, pull tight, and staple. The fabric has some play to it, so take your time and get a nice smooth fold before stapling it to the underside of the headboard. Continue working your way down the headboard and repeat the process on the bottom side of your channels as well.
I’ll be honest; I didn’t do a great job planning the legs of the headboard. It became more of an afterthought, and I literally just hot glued some leftover fabric straight onto the plywood. If you have any ideas of how to do it differently, feel free to drop them in the comment area below. I’d love to hear your ideas!


SOURCES
Channel Tufted Headboard & Bed Frame is a DIY (Similar Option) | Linen Quilt | Cashmere Blend Quilt | Linen Duvet Cover | Chunky Knit Bed Blanket | Linen Euro Pillows | Throw Pillows | Lumbar Pillow | Skinny Bench is a DIY (Similar Option) | Nightstand (Similar Option) | Wall Sconces | Crinkled Cotton Throw Blanket | Curtain Rod | Linen Curtains | Brass Knobs | Brass Pulls | Rug | Vintage Rug | Vases | Clay Pots

*This post contains affiliate links*


17 Responses
This is amazing Erin! Super helpful for those of us to whom DIY projects do not come easily. I can’t wait to get started! Thank you!!!
So happy to hear that! I can’t wait to see how your project turns out!
Are you able to see the tact strips between the panels?
Nope not at all. If done correctly, the first tact strip gets completely covered and the second tact strip get wrapped in.
Hey thanks for this great DIY! Do you know about how much the project cost you all together? Thank you!
Thank you Morgan! Rough estimate is just under $200 for a king size headboard. Fabric was about $65 total and other supplies were a little over $100.
Love this! Are you able to share how you made the foot board and rails?
Thank you Ashley! I really need to do a follow up post on the upholstered bed frame. I do not currently have a post on that, but I do have a highlight on it on my Instagram page if you want to check it out there, it’s just called “bed frame”
I am planning a channel tufted headboard with a semi-circular top… really stressed how to do the circular top… any advice?
I don’t foresee it being much more difficult than a straight top. When you pull the fabric around the top, you’ll just be at an angle (going up and around the curve) instead of straight. Maybe see if you can find someone doing it on YouTube? Might help to watch someone else doing it first. Hope that helps– good luck!
Love this!! How did you attach the side boards to the headboard?
Thanks Jen! They are actually not even attached to the headboard, just butted up against.
I’m in the middle of reupholstering my king bed with your project being the inspiration!! I’ve decided to attach the top part of the headboard to the wall, making the lower piece complete with the bed frame and mattress.
Do you think it would be possible to do this paneling with the fabric uncut, marking it in the same dimensions/sections but just not cutting the fabric? I’m hesitating cutting my fabric for this part of the project. I didn’t have a problem cutting into my fabric for the sides or base panels but I’m having hesitation with the headboard.
Yay, good luck with your project Sandy! I would say it’s worth a try to do it without cutting the fabric. Worse comes to worse, you can pull the samples out and cut it if it doesn’t work.
That is a really a nice looking head board, you did a great job on that. I made one similar, but i omitted the legs and hung it with heavy duty wire with two nails like an old fashioned picture frame. It lays perfectly flat on the wall because the wieght of the plywood.
Aw thank you Donna!